本篇内容介绍了“基于WPF如何实现3D画廊动画效果”的有关知识,在实际案例的操作过程中,不少人都会遇到这样的困境,接下来就让小编带领大家学习一下如何处理这些情况吧!希望大家仔细阅读,能够学有所成!
接下来想做一个图廊,所以并没有必要用立方体,只需做一些“墙壁”就行了。
而在一个平面上建起另一个矩形的平面,实则非常容易,只需输入墙角的两点和高度就可以了,这对于写过正方体的人来说绝对是简单得很,无非是把四个点劈成两个三角形
private MeshGeometry3D MakeSurface(Point3D p0, Point3D p1, Point3D p2, Point3D p3)
{
    MeshGeometry3D mesh = new MeshGeometry3D();
    Point3D[] pts ={p0, p1, p2, p3};
    foreach (var pt in pts)
        mesh.Positions.Add(pt);
    foreach (var i in new int[6] { 0, 1, 2, 2, 3, 0 })
        mesh.TriangleIndices.Add(i);

    return mesh;
}
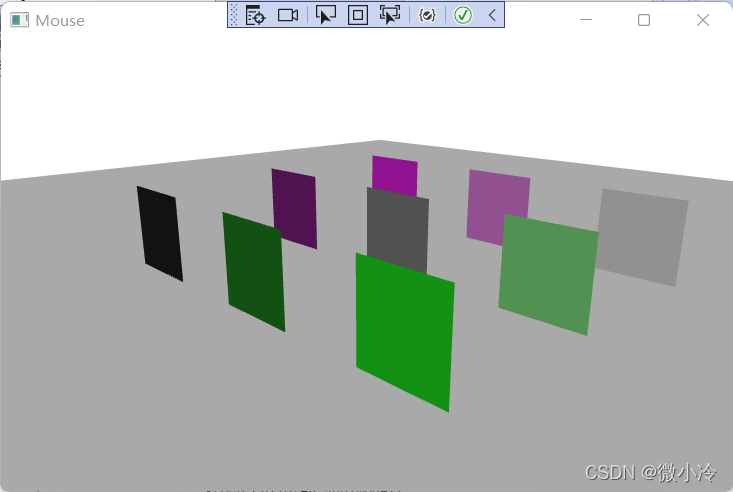
接下来可以像之前做正方体时那样,先做一个平的地面,然后在地面上放置一些正方体。
由于地面上的正方形要求垂直于地面,所以重载一下
private MeshGeometry3D MakeSurface(Point p0, Point p1, double high)
{
    return MakeSurface(
        new Point3D(p0.X, 0, p0.Y),
        new Point3D(p1.X, 0, p1.Y),
        new Point3D(p1.X, high, p1.Y),
        new Point3D(p0.X, high, p0.Y));
}
然后生成模型

代码为
private void DefineModel(Model3DGroup group)
{
    // Make the ground.
    const double wid = 10;
    MeshGeometry3D groundMesh = MakeSurface(
        new Point3D(-wid, 0, -wid),
        new Point3D(-wid, 0, +wid),
        new Point3D(+wid, 0, +wid),
        new Point3D(+wid, 0, -wid));
    DiffuseMaterial groundMaterial = new DiffuseMaterial(Brushes.DarkGray);
    GeometryModel3D groundModel = new GeometryModel3D(groundMesh, groundMaterial);
    group.Children.Add(groundModel);

    MaterialGroup gpMaterial;

    for (int x = -2; x <= 2; x += 2)
    {
        for (int y = -2; y <= 2; y += 2)
        {
            MeshGeometry3D mesh = MakeSurface(new Point(x, y), new Point(x, y + 1), 1);
            byte r = (byte)(128 + x * 50);
            byte g = (byte)(128 + y * 50);
            byte b = (byte)(128 + x * 50);
            Color color = Color.FromArgb(255, r, g, b);
            DiffuseMaterial material = new DiffuseMaterial(
                new SolidColorBrush(color));

            GeometryModel3D model = new GeometryModel3D(mesh, material);
            group.Children.Add(model);
        }
    }
}
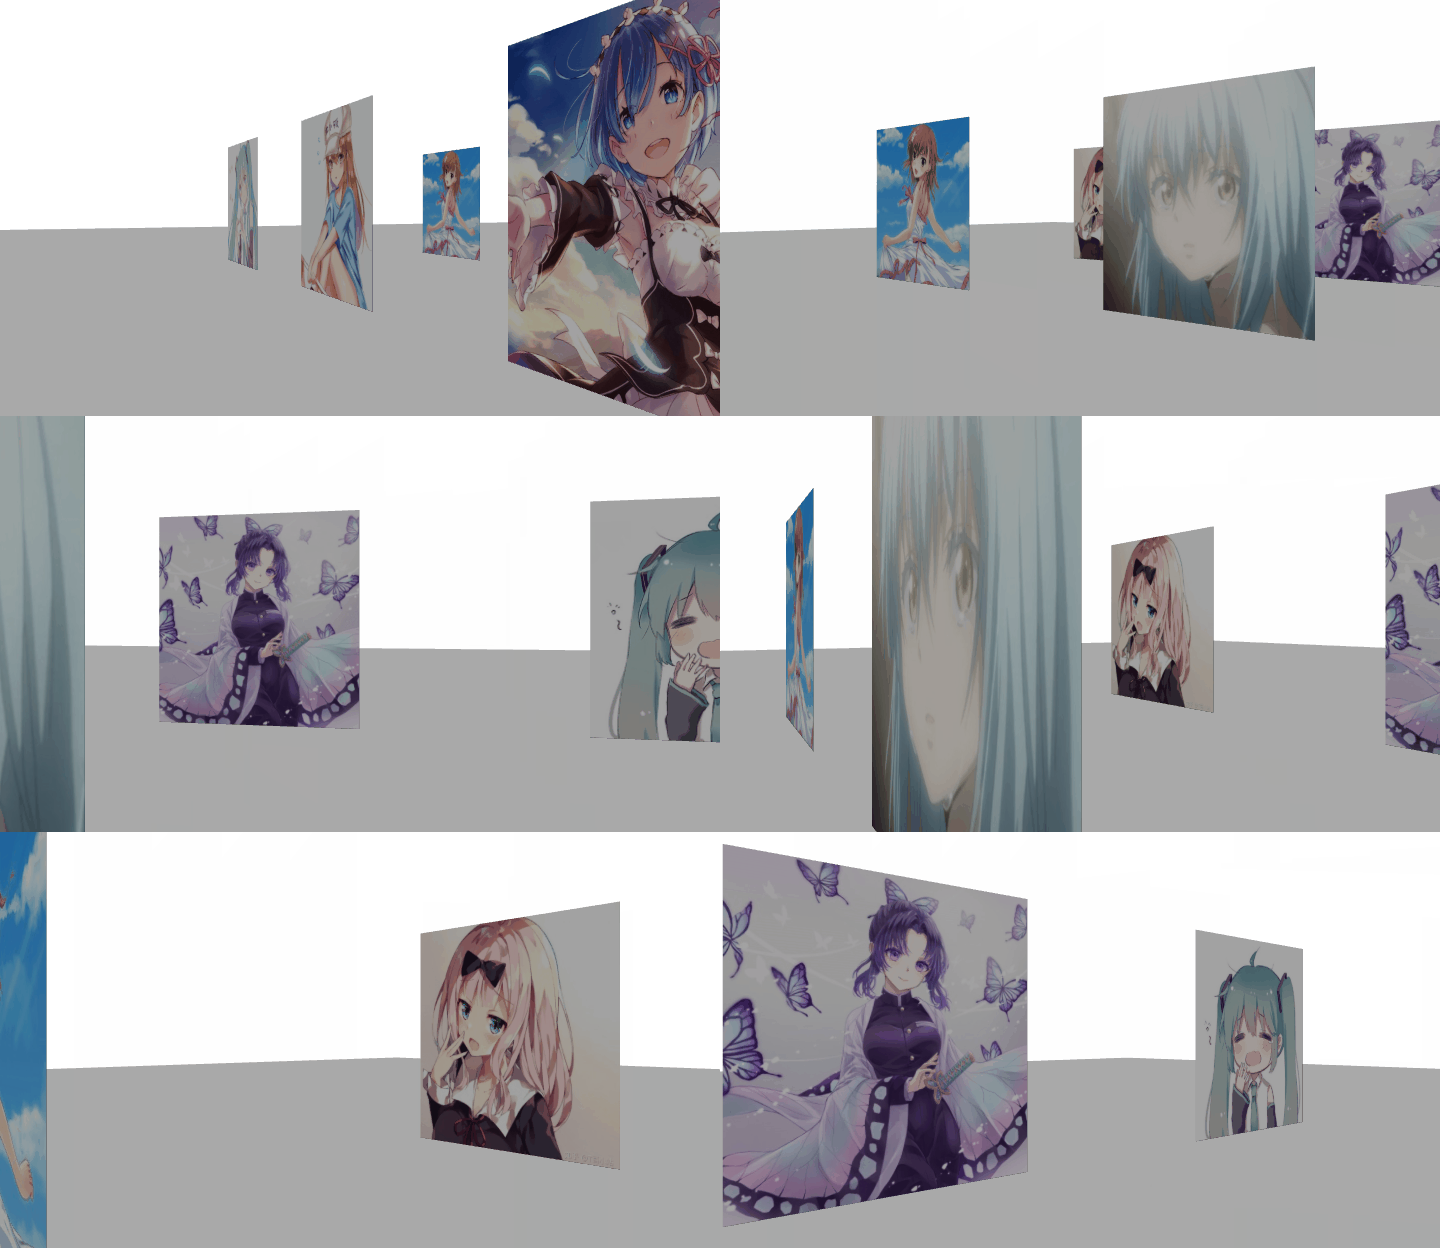
接下来就是挂载贴图,结果大致如下

其方法也很简单,就是把material变成想要的图片,故而先把图像放在一个字符串数组里
static readonly string[] imgs = new string[9]
{
    "2d1.png","2d2.png","2d3.png","2d4.png","2d5.png",
    "2d6.png","2d7.png","2d8.png","2d9.png"
};
接下来需要注意一点,图像本身需要一个坐标系,故而要把墙壁的代码改为
private MeshGeometry3D MakeSurface(Point p0, Point p1, double high, string uri = null)
{
    var mesh = MakeSurface(
        new Point3D(p0.X, 0, p0.Y), new Point3D(p1.X, 0, p1.Y),
        new Point3D(p1.X, high, p1.Y), new Point3D(p0.X, high, p0.Y));
    //这四个点代表图像上的坐标和图形中点的对应关系
    Point[] textureCoods = new Point[4]
    {
        new Point(0, 1),new Point(1, 1),
        new Point(1, 0),new Point(0, 0),
    };
    foreach (var pt  in textureCoods)
        mesh.TextureCoordinates.Add(pt);
    return mesh;
}
然后在生成正方形时,用图像取代颜色
ImageBrush imgBrush = new ImageBrush();
imgBrush.ImageSource = new BitmapImage(new Uri(
    $"imgs//{imgs[k++]}", UriKind.Relative));

MeshGeometry3D mesh = MakeSurface(new Point(x, y), new Point(x, y + 1), 1);

GeometryModel3D model = new GeometryModel3D(mesh, new DiffuseMaterial(imgBrush));
group.Children.Add(model);